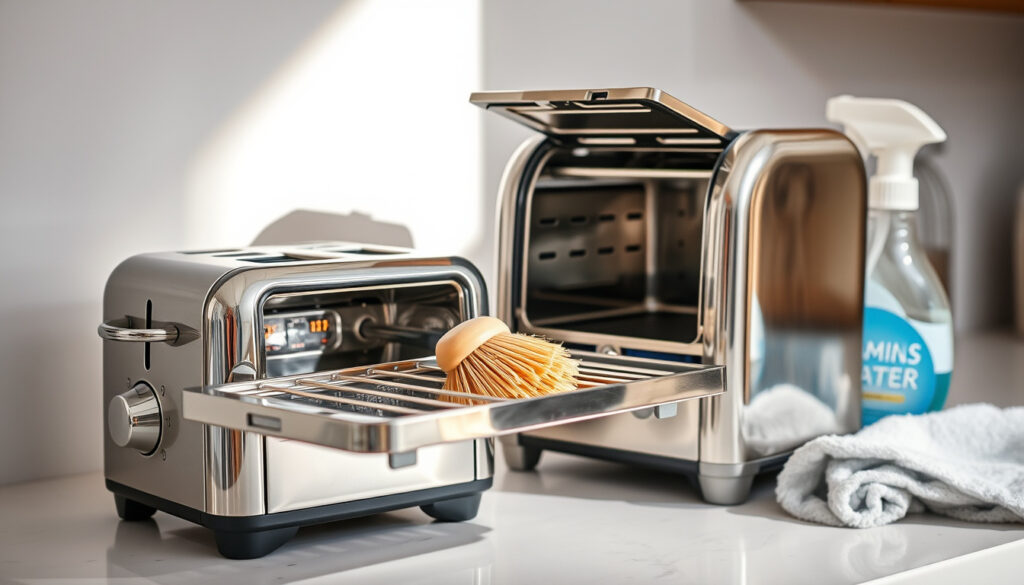
How to Clean a Toaster: Safe Steps Inside & Out
If you’ve ever wondered why your morning toast keeps tasting faintly burnt even on a fresh setting, the culprit is almost certainly a crumb buildup you’ve been ignoring. It happens to everyone—the toaster sits on the counter, does its job, and accumulates layers of crumbs and grease that most of us only deal with when something starts smoking. The fix takes about ten minutes, and once you know the right order of operations, it becomes second nature.
Crumb tray emptying frequency: Weekly ·
Exterior wipe frequency: Weekly ·
Shake out crumbs frequency: Every 1–2 weeks ·
Unplug before cleaning: Always required ·
Deep clean tools needed: Brush or soft cloth
Quick snapshot
- Unplug and cool completely before any cleaning (KitchenAid)
- Slide-out crumb tray is standard on nearly all modern toasters (YouTube)
- Never submerge in water or use liquid on interior (KitchenAid)
- Whether ethyl alcohol degrades plastic heating element housings over time
- Which brush bristle stiffness works best across all toaster slot widths
- Weekly crumb tray empty keeps toaster performing optimally
- Baking soda paste for melt spills may need 15-minute dwell time before scrubbing
- Make weekly cleaning part of your kitchen routine—takes under ten minutes once practiced
- Consider natural cleaners like vinegar for stainless steel exteriors to avoid chemical residue
The table below consolidates essential toaster cleaning parameters from manufacturer guidance and expert tutorials.
| Field | Detail |
|---|---|
| Unplug required | Always before any cleaning |
| Crumb tray location | Pull-out bottom slot |
| Water use | Prohibited inside or submersion |
| Frequency | Weekly for tray and exterior |
| Tools | Soft brush, dry cloth, tin foil |
How do I clean the inside of a toaster?
The interior is where burnt crumbs hide and cause that stale taste. KitchenAid recommends starting with the safest possible step: unplugging and letting the appliance cool completely (KitchenAid US). Even with the power off, residual heat can cause burns, and the interior components are sensitive to moisture.
Empty the crumb tray
Most toasters have a slide-out crumb tray at the bottom that catches the bulk of fallen crumbs (KitchenAid US). Slide it out, shake the crumbs directly into a trash can, then hand-wash the tray with dish soap and a sponge before drying it thoroughly and clicking it back into place (Homemade Simple). Work over the sink or trash to avoid crumb scatter.
Shake out loose crumbs
After emptying the tray, turn the toaster upside down over the sink or a sheet of newspaper and give it several firm shakes to dislodge any remaining loose debris (Homemade Simple). If the toaster has no removable tray, this upside-down shake is your primary crumb-removal method.
Brush remaining debris
Use a soft pastry brush or an old toothbrush to dust crumbs from the slots and inner walls (Homemade Simple). DIY tutorials on YouTube suggest attaching a straw to a vacuum crevice tool with masking tape to reach and suck out crumbs from the toaster bottom—a method that works especially well for models without removable trays (YouTube Tutorial). Another approach is using a hair dryer on the cool setting to blow out remaining crumbs from hard-to-reach spots (Peter Walsh via YouTube).
Can you run water through a toaster?
This is one of the most common toaster care myths, and the answer is an emphatic no. KitchenAid explicitly states that you should never immerse the toaster in water or use water on the interior, as it damages electrical components and creates a serious safety hazard (KitchenAid US). The risk isn’t just about the current when plugged in—residual charge and internal circuitry can still pose dangers.
Why water damages toasters
The heating elements inside a toaster are metal coils coated with a thin protective layer. Introducing moisture—even a small amount—can corrode this coating, reduce heating efficiency, and eventually cause the element to short out. The crumb tray area, in particular, sits directly beneath electrical contacts. A damp crumb left in that space becomes a conductor rather than an insulator.
Safe alternatives to water
For interior cleaning, dry methods reign: brushing, compressed air, vacuum attachments, or a hair dryer set to cool. For the exterior, a wrung-out sponge with a drop of dish soap is the maximum moisture allowed (Homemade Simple). Skip the paper towels—KitchenAid advises using a soft cotton cloth or microfiber to avoid scratching surfaces (KitchenAid US).
The slight extra effort of dry cleaning pays off in a toaster that heats evenly and lasts longer. Moisture shortcuts save five minutes today and cost you a new appliance within a year.
How do you clean burnt bits out of a toaster?
Stubborn burn marks on heating coils or the interior walls require a bit more patience but no liquid. One popular hack involves balling up a sheet of tin foil and working it gently around the coils to lift carbonized residue without damaging the element (Peter Walsh via YouTube). The key is using slow, circular motions and never pressing hard enough to bend the coils.
Use tin foil method
Crumple a sheet of standard aluminum foil into a ball roughly the size of a golf ball. Unplug the toaster, turn it on its side, and work the foil ball gently between and around the heating coils. The foil’s slight abrasiveness lifts baked-on crumbs without scratching the element coating. Shake out the loosened debris afterward over the trash.
Brush and vacuum gently
A dry brush followed by a targeted vacuum pass works well for lighter burn residue. The YouTube tutorial suggests wrapping a damp cloth around a chopstick secured with a rubber band to wipe inner surfaces, then finishing with a cotton swab dampened with ethyl alcohol to degrease the bottom area and prevent crumbs from sticking in the future (YouTube Tutorial). The alcohol evaporates quickly and leaves no residue, but use this method sparingly—its long-term effect on plastic housings isn’t well-documented.
What’s the best way to clean out a toaster?
The most thorough approach combines exterior and interior steps into one ten-minute routine. KitchenAid recommends a once-a-week cleaning schedule if you use your toaster daily (KitchenAid US). For occasional use, a monthly deep clean suffices.
Exterior cleaning steps
Wipe the toaster exterior with a soft, damp cotton cloth and a small amount of dish soap, then dry immediately with a microfiber cloth to prevent water spots (KitchenAid US). For stainless steel finishes, Homemade Simple recommends white vinegar on a microfiber rag to shine the surface and cut through fingerprints without chemicals (Homemade Simple). Avoid abrasive cleaners, scouring pads, or anything that might scratch the finish.
Full inside and out routine
Here’s the order that works best: unplug and cool, empty the crumb tray over the trash, shake the toaster upside down, brush the slots, spot-treat any burn marks with the tin foil method, wipe the exterior with a damp cloth and soap or vinegar, dry everything, and firmly press the crumb tray back until it clicks into place (KitchenAid US). The click is important—if the tray isn’t seated properly, it can rattle or create a fire hazard.
A toaster with a properly seated crumb tray and clean heating elements heats more evenly. Uneven browning across your toast is usually the first sign of crumb buildup interfering with heat distribution.
How to clean a toaster with baking soda?
Baking soda works best for specific situations rather than routine cleaning—particularly for melted plastic spills or stubborn grease that won’t budge with dry brushing alone. KitchenAid suggests mixing baking soda with water to form a paste, applying it with a damp sponge or toothbrush, and letting it sit for about fifteen minutes before wiping clean (KitchenAid US). This method is strictly for the exterior or removable parts—the crumb tray, not the interior slots.
Baking soda paste for stains
Mix two tablespoons of baking soda with just enough water to form a spreadable paste. Apply it to the stained area, let it sit for ten to fifteen minutes, then scrub gently with a soft toothbrush. Rinse the area with a barely damp cloth—never drench—and dry immediately.
Vinegar follow-up
White vinegar makes an effective follow-up after baking soda because it neutralizes residue and disinfects without adding moisture to electrical areas. Dampen a microfiber cloth lightly with vinegar and wipe the exterior surface. For stainless steel, this combo leaves the finish streak-free and adds a mild disinfectant layer. For a streak-free finish and a mild disinfectant layer on stainless steel, try this baking soda and vinegar combination, or learn how to clean copper cookware with these helpful tips at تنظيف أواني الطهي النحاسية.
Special cases like after mice
If a toaster has been exposed to pests, skip the DIY approach entirely. The safest move is to discard the appliance—internal wiring can harbor bacteria and contamination that home cleaning methods can’t address. Contact your local waste management service for small appliance disposal guidelines in your area.
Baking soda’s mild abrasiveness works on flat surfaces but can scratch curved plastic elements or logo areas on some toasters. Test on an inconspicuous spot first if you’re worried about cosmetic damage.
Pros and Cons
Upsides
- Weekly cleaning takes under ten minutes once you have the routine down
- Dry methods protect heating elements and extend appliance lifespan
- Vinegar and baking soda are inexpensive, non-toxic, and readily available
- A clean toaster produces more even browning and better-tasting toast
Downsides
- Interior cleaning requires awkward angles and some patience
- No submersion means more manual scrubbing compared to dishwasher-safe parts
- Brushes and vacuum attachments need to be kept on hand
- Toasters without crumb trays demand more frequent upside-down shaking
What experts say
It’s recommended that the crumb tray be emptied after each use.
— KitchenAid (Appliance Manufacturer) via KitchenAid US
Using a dish soap like Dawn, warm water and a sponge, hand wash the crumb tray, and dry it thoroughly before returning it to the toaster.
— Homemade Simple (Cleaning Guide) via Homemade Simple
One of the best things in your house to clean out the rest of the crumbs is a hair dryer.
— Peter Walsh (Organizational Expert) via YouTube
Confirmed Facts vs. Rumors
Confirmed
- Unplug toaster first—always, before any cleaning step
- Empty crumb tray weekly for daily-use appliances
- Turn toaster upside down over sink to shake loose crumbs
- Dry brushing and vacuuming are the only interior-safe methods
- White vinegar shines stainless steel without chemicals
Less certain
- Effectiveness of vinegar on certain plastic interior coatings over time
- Whether cotton swabs with alcohol are safe for all toaster model materials
- Optimal brush bristle stiffness for different slot widths
- Long-term effects of lemon-salt abrasion on painted toaster surfaces
The Pattern Across Methods
Five cleaning guides, three appliance brands, and a handful of YouTube tutorials all converge on the same core sequence: unplug, empty, shake, brush, wipe, dry. The variations—vinegar versus dish soap, toothbrush versus pastry brush, straw-vacuum versus hair dryer—are refinements rather than contradictions. The appliance industry and the DIY crowd both agree that moisture inside a toaster is the one thing you never introduce, regardless of what cleaning hack you’re using.
For homeowners, the choice is straightforward: build a weekly ten-minute ritual around the dry-cleaning sequence, and your toaster will last longer, heat more evenly, and produce toast that actually tastes fresh. For renters or anyone sharing a kitchen, the natural cleaner option—vinegar for stainless steel, baking soda paste for stubborn spots—keeps the appliance clean without leaving chemical residue that others might object to.
Related reading: Air Fryer French Fries · Air Fryer Grilled Cheese
Frequently asked questions
How often should you clean a toaster?
If you use your toaster daily, empty the crumb tray and do a quick exterior wipe weekly, with a deeper interior cleaning once a month. For occasional use, a monthly crumb tray empty and exterior clean is sufficient according to KitchenAid’s guidance.
What tools are safe for toaster slots?
Soft-bristled brushes like pastry brushes or a clean old toothbrush work best. Avoid anything metal or abrasive. For hard-to-reach crumbs, a vacuum with a crevice attachment or a hair dryer on cool can supplement brushing.
How to clean toaster exterior?
Use a soft, damp cloth with a small drop of dish soap. Wring the cloth well to minimize moisture. For stainless steel, white vinegar on a microfiber rag works as a chemical-free shine alternative. Dry immediately with a clean microfiber cloth.
Is vinegar safe for toasters?
Yes, for the exterior only. Vinegar’s low pH cuts grease and disinfects without damaging stainless steel or painted finishes. Never pour vinegar inside the toaster or near the slots where it could drip into electrical areas.
What if toaster has no crumb tray?
Turn the toaster upside down over the sink or trash and shake it firmly to dislodge loose crumbs. Follow with a dry brush pass and a targeted vacuum or hair dryer blow-out to reach debris that shaking alone won’t remove.
How to clean toaster grill elements?
Use the tin foil ball method: gently work crumpled foil between the heating coils in slow circular motions to lift carbonized residue. Alternatively, wrap paper towel around a pencil to reach between coils and wipe away debris, though this method works better for lighter buildup.
Safe after mice in toaster?
If a toaster has been exposed to mice or other pests, the safest recommendation is to dispose of the appliance rather than attempt cleaning. Internal wiring can harbor contamination that home methods cannot fully address, and the risk to food safety outweighs the cost of replacement.
More related posts
 Can Dogs Have Blueberries? Safety, Benefits & Serving Guide
 Best High Yield Savings Account 2026: Ireland vs USA Rates
 Spirit Airlines Personal Item Size: Exact Dimensions & Tips
 Lawn Mower Repair Near Me: Costs & When to Replace
 Is Puerto Rico Safe – 2025 Safety Facts for Tourists
 The Gray Man Reviews – 45% Critics vs 90% Audience
 Crisis on Infinite Earths Watch Order: Episode Guide
 Bath & Body Works Semi-Annual Sale 2025: Dates & 75% Deals
